How to plan an Instagram grid
Lay out the next nine posts before you publish the first. Here's the routine, whichever tool you use.
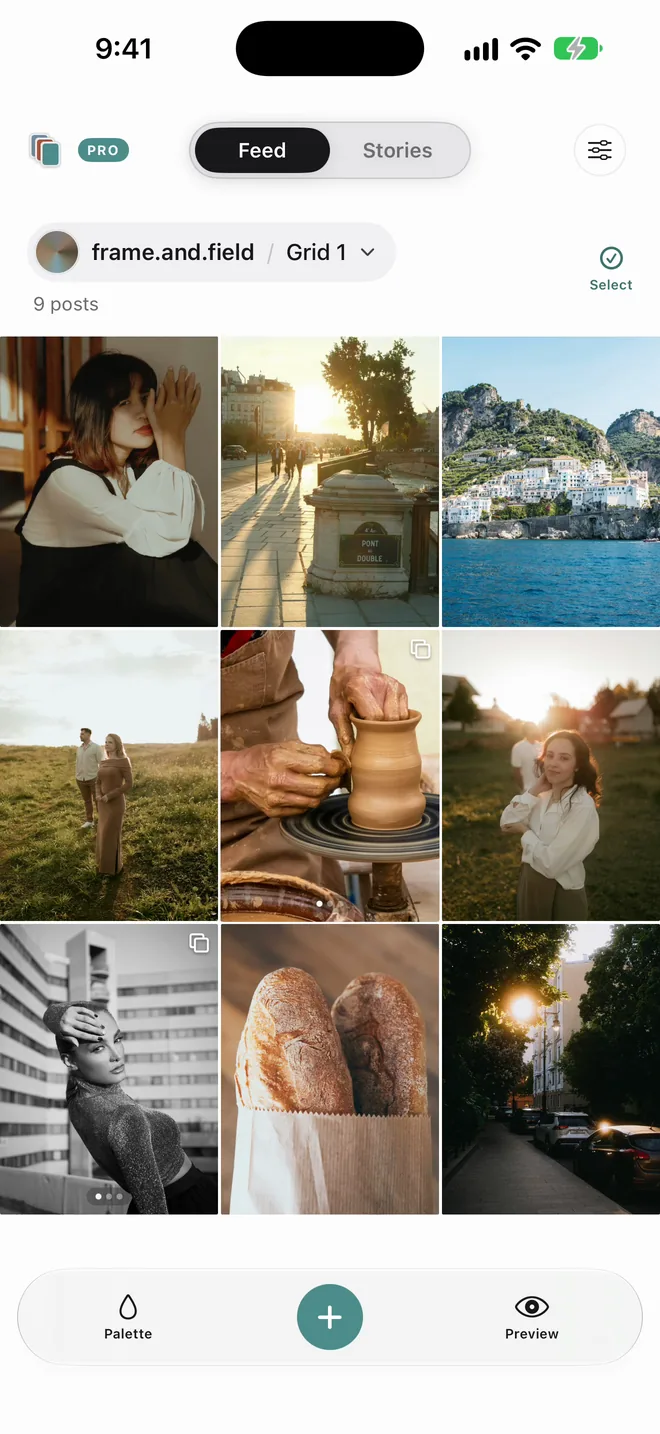
1. Pull your next nine
Choose from your finished edits, not everything you shot. Add the three rows above them too, because new posts will sit beside your recent ones.
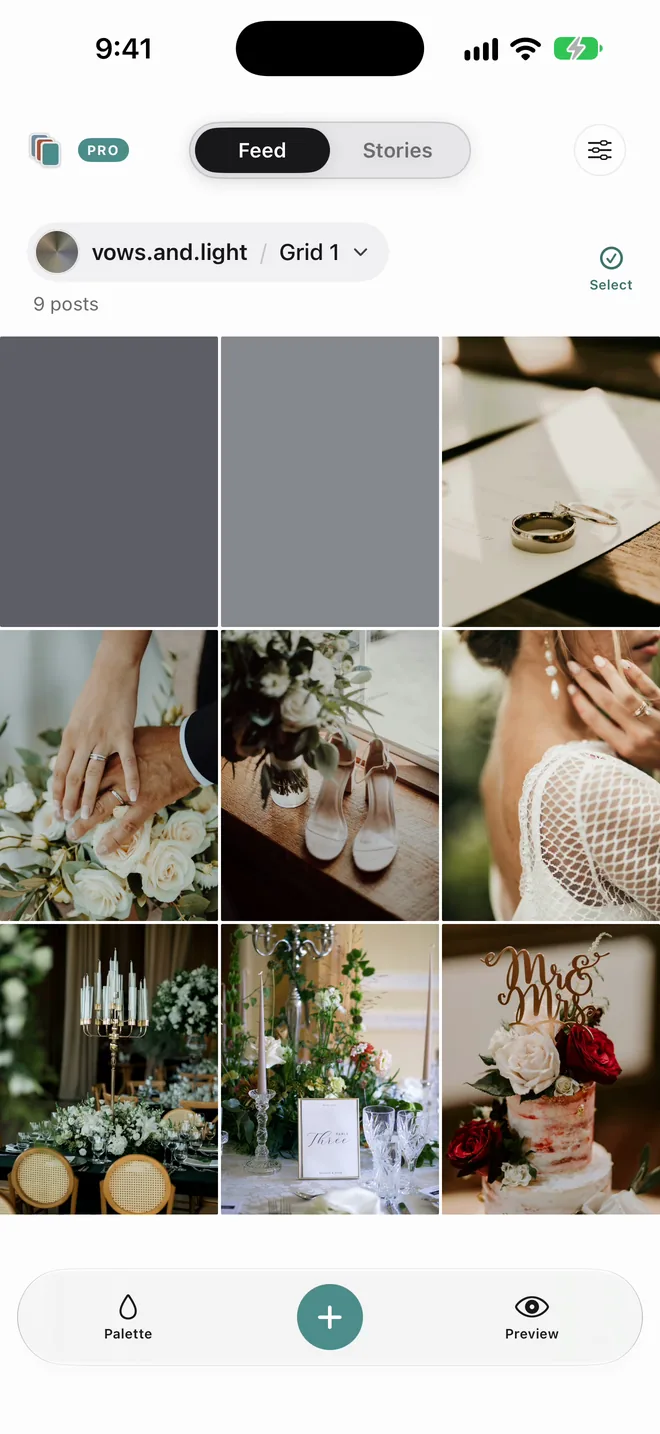
2. Hold spots for shoots coming up
Got a shoot next week? Put a placeholder where it will go and plan around it. Swap in the real photo afterwards.
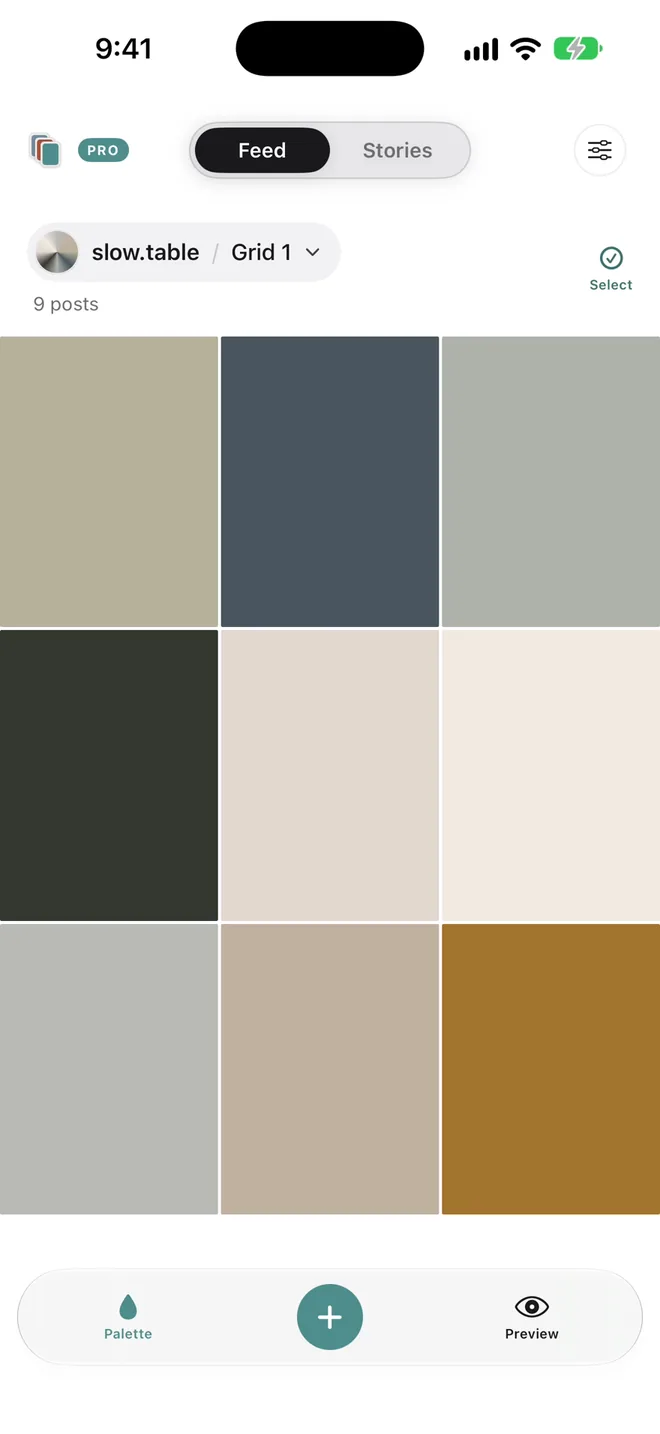
3. Balance the colour
Squint at the grid, or switch to a colour view. Two loud frames side by side compete, so separate them and let a quieter frame sit between.
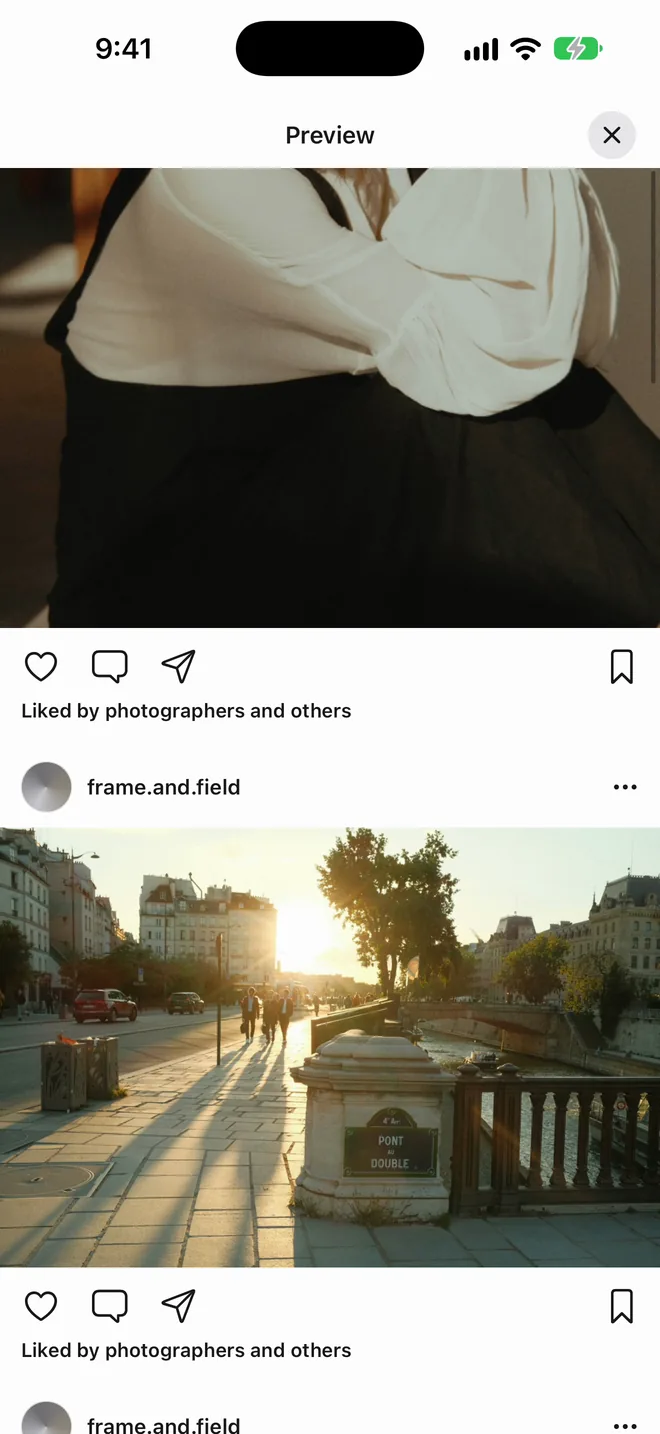
4. Check every crop
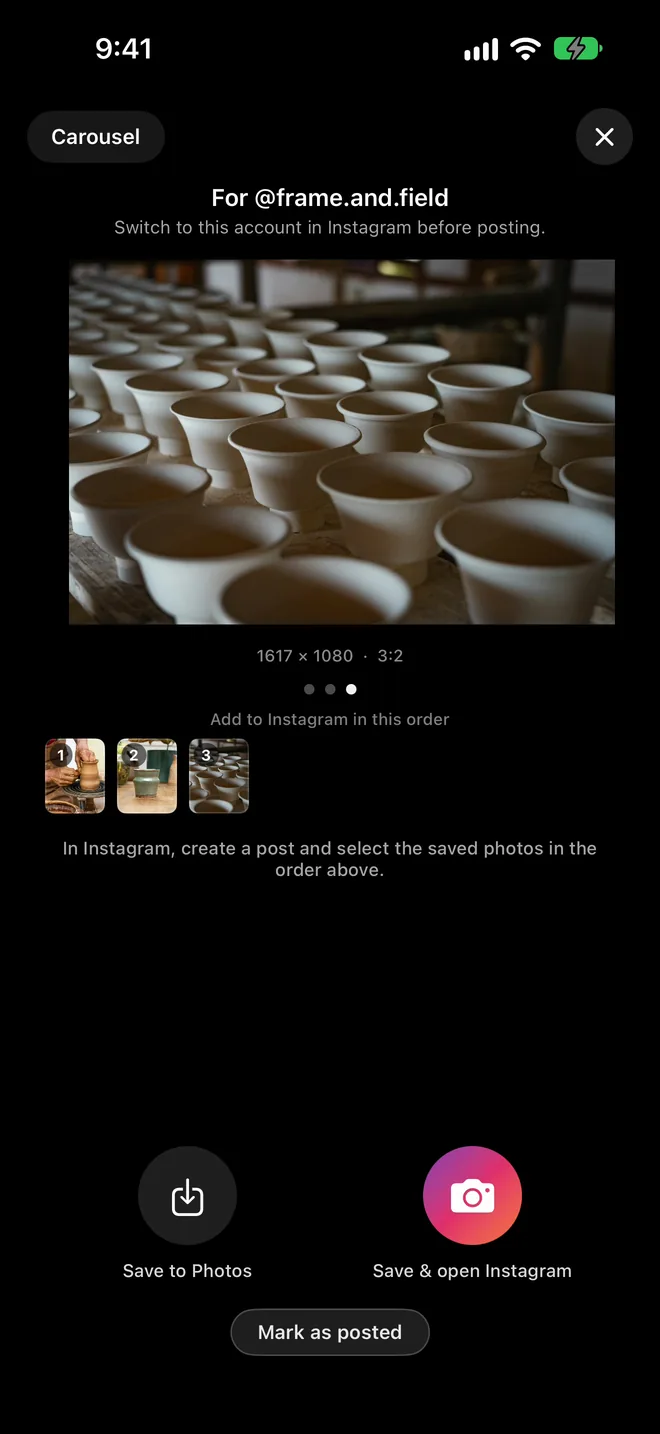
The grid shows 3:4 tiles, so wide photos lose their sides. Check each one, and every carousel slide, before you commit. The free crop checker does this for a single photo.
5. Write the captions now
You remember the light, the place and who you shot with today. In a month you won't.
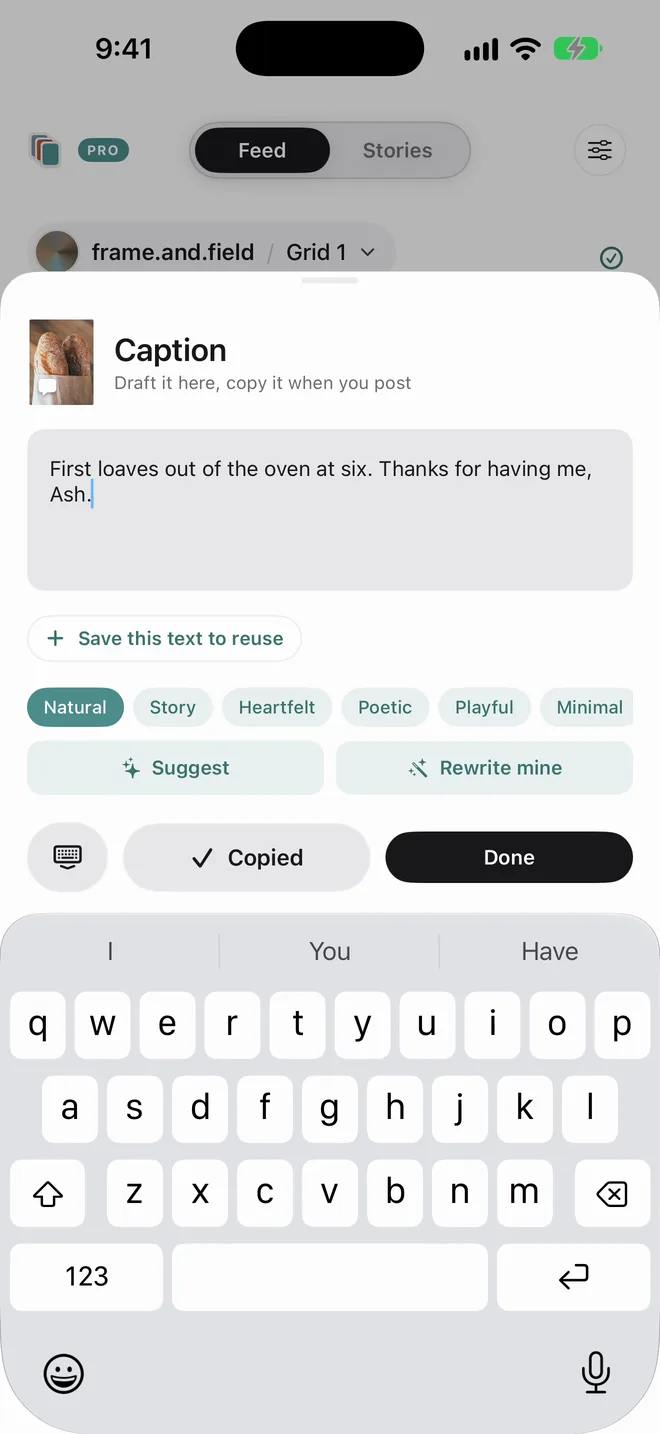
6. Post in reverse order
New posts land top left, so the bottom-right spot goes up first. Mark each one as posted so the plan stays in step with your real profile.
Questions
How far ahead should I plan my grid?
Nine posts is a good start. That's three rows, about what people see when they first open your profile.
Do I need a colour theme?
No. A grid just needs some rhythm. Spreading strong colours and busy frames out does more than forcing every photo into one palette.
Should I plan on my phone or a computer?
Either. Your phone shows the size people see. A bigger screen helps when you're choosing from a whole shoot. Swatch Pro does both with the desktop dashboard beta.
Can I plan a grid for free?
Yes. The free version of Swatch plans one grid with reordering, Preview, placeholders, the colour map and captions.
Plan the next nine in Swatch.
Free to download on iPhone. One payment unlocks Swatch Pro for good, with no subscription.
Download on the App Store →